


How to add a portal to WhitePress®

Who is the Publisher in WhitePress®
If you read this guide, you are probably already registered in the WhitePress® platform. Just as a reminder – the Publisher is the owner of a portal or website, who can earn by publishing sponsored content.
Are you ready to become a Publisher? You can read this guide or watch the video tutorial:
1. Check the requirements
Publishers portals are thoroughly verified by WhitePress® – you can find more information about this in our periodically updated article: Portal requirements. Before we go through the whole process of adding a portal step by step, make sure that your site meets our requirements:
- Do you meet the current technical requirements (which can be found in the news published on the local WhitePress® site)?
- Do you have any link exchange systems installed (on your site)?
- Do you publish your own content?
If you answered yes to all three questions, you can follow the steps below. Let's get started!
2. Add a portal
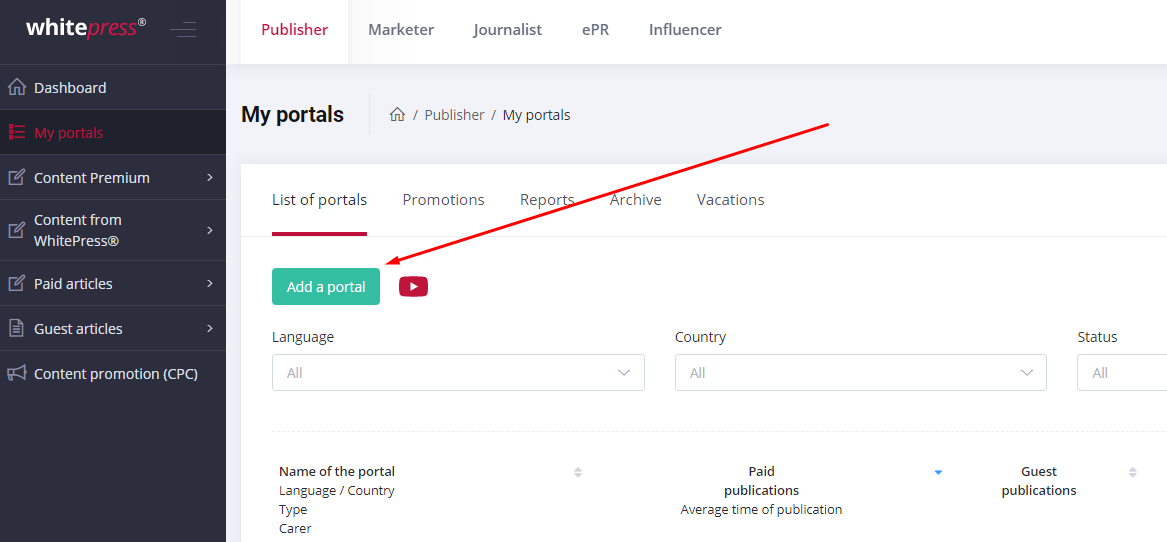
Please log in to the WhitePress® platform, select My Portals tab from the list on the left, and then click the Add Portal button.
Fill in basic data
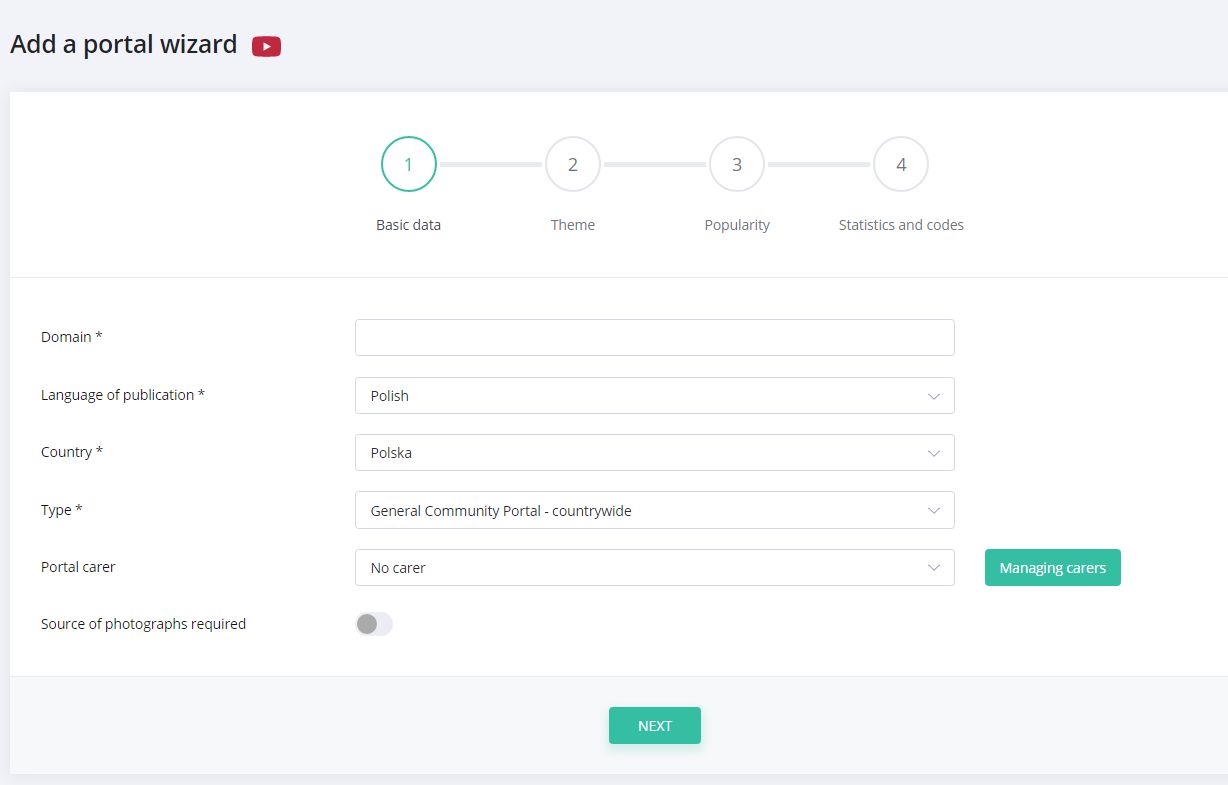
First, we need you to fill in Basic data – all fields are mandatory here:
- enter the domain name;
- choose the type of portal (from General thematic portal - national, Thematic portal - national, General thematic portal - regional, Thematic portal - regional, Blog) or if you cannot match it to the appropriate category, choose the Other option;
- choose the language of publication;
- choose the country that your portal is linked to (for example, if your portal is in English and its audience is both from the UK and the USA, choose the one which you think is the most appropriate and click next).
Complete the theme
The only mandatory field here is the Short description, which should contain a brief description of the portal. The minimum description length is 10 characters. You can also supplement Tags, i.e. keywords describing your portal – you can enter up to 20 tags. Complete the heading. We do not publish themes such as those infringing law or promoting competition. Click next and go to the Popularity tab.
Enter the popularity of your website
Complete the number of unique users per month. Attach a file generated directly from Google Analytics that documents portal statistics covering the last three months and shows the number of unique users. The file should be in PDF format. If you have a problem with attaching a file or do not know how to generate it, write to us at: office@whitepress.net.
Finally, in this tab, you add links to the accounts of the portal in social media: Facebook and Twitter. The number of fans and followers field is being filled in automatically when you add a link. Click Next and go to the last tab Statistics and codes.
Configure the statistics settings
Here you can select whether you have the option to add WhitePress HTML code, i.e. our proprietary tracking code which you place in the content of the article on your website and whether you have the option of sharing statistics of published articles from Google Analytics or another system. If you can't add the WhitePress® tracking code, you provide the first article statistics for free.
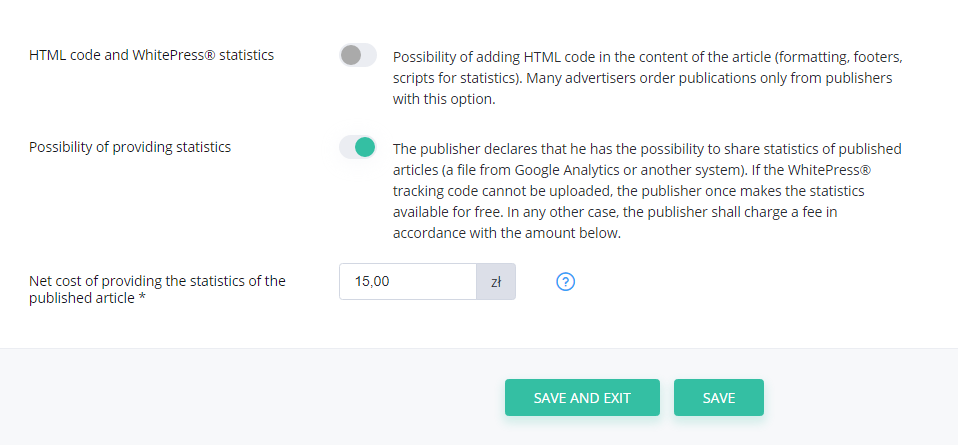
In any other case, you can charge a fee which you enter in the Net cost field of providing statistics for the published article. You can also indicate that you don't share statistics. Finally, click Save.
Bravo! You've just finished completing the most important data about your portal, now you can follow the next step – completing the offer.
3. Preparing the offer
For each portal you can complete more than one offer, depends on the services provided. If something changes, please keep in mind that you can always come back and update the offer during your activities in WhitePress®.
Basic data and promotion
Here you enter the name of the offer, which would best describe what the offer contains. Complete the number of promotion days and the link to the home page or section.
Optionally, you can add a screenshot of the place where the link will be placed. Indicate if the article will be available on Twitter and Facebook. You can only do this if you have previously indicated that the portal has a profile on these social media.
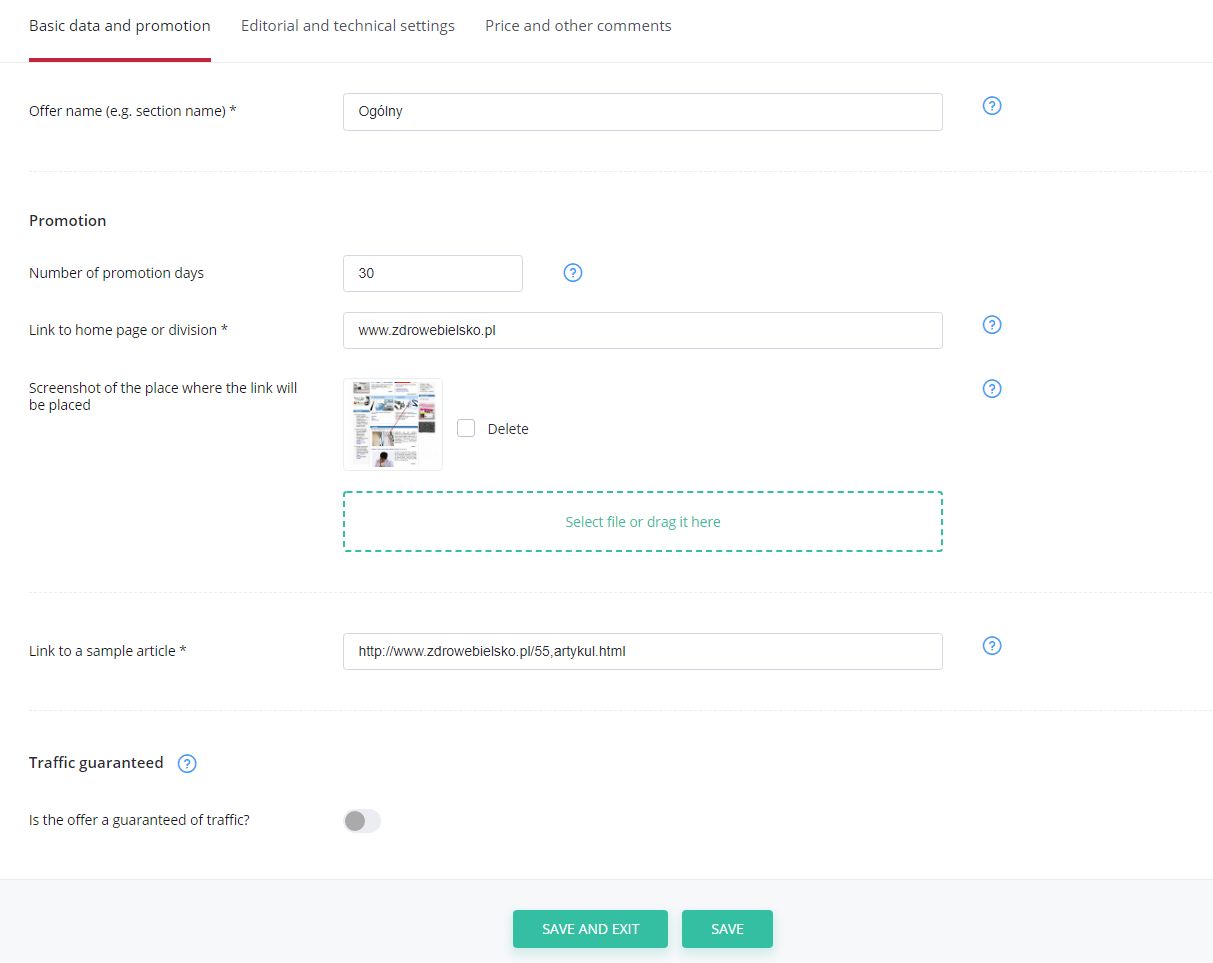
Paste a link to a sample article, for example from the main page or a selected section. Then click Next.
Editorial and technical settings
Here you will see some checkboxes to select from. First, in Editorial settings indicate whether your offer includes writing an article. If so, complete the deadline for the preparation of such an article. Then, select whether Advertiser can add an advertising banner to the content.
In the next step, choose the right answers to the following questions.
How will the article be tagged after publication?
- at Advertiser's discretion: you don’t tag it or tag it on request.
- you don’t tag it paid articles.
- you tag the text as "Sponsored article".
- you tag it as "Sponsored Article" or "Partner’s Article" or "External Article".
What are your quality requirements for the article?
- very high quality written by renowned specialists.
- high-quality.
- should be correct and have substantive value.
Can the texts have an advertising character?
- it can be of advertising nature.
- it must be objective, but may point to the advertiser.
- it must be completely objective.
Should there be pictures in the content, if so, how many?
- can’t have photos.
- it doesn't have to, but it can have photos.
- should contain photos.
What is the maximum length of the article?
- no restrictions.
- you specify the maximum length of the article and enter the number of characters with spaces.
What will be the duration of the article?
- deleted after 12 months.
- the article and links remain unchanged after 12 months.
- the article remains and the links change the attribute to "nofollow" after 12 months.
- other and you specify.
Will commenting be available?
- all articles are commented.
- articles are not commented.
- I can turn off comments on the advertiser's request.
- other and you specify.
Who provides the main picture of the article?
- mandatory, must be provided by the Advertiser.
- optional, provided by the Publisher.
- no picture.
From the drop-down list, select Image proportions and enter the Minimum image width in pixels.
The next part in this section deals with technical settings.
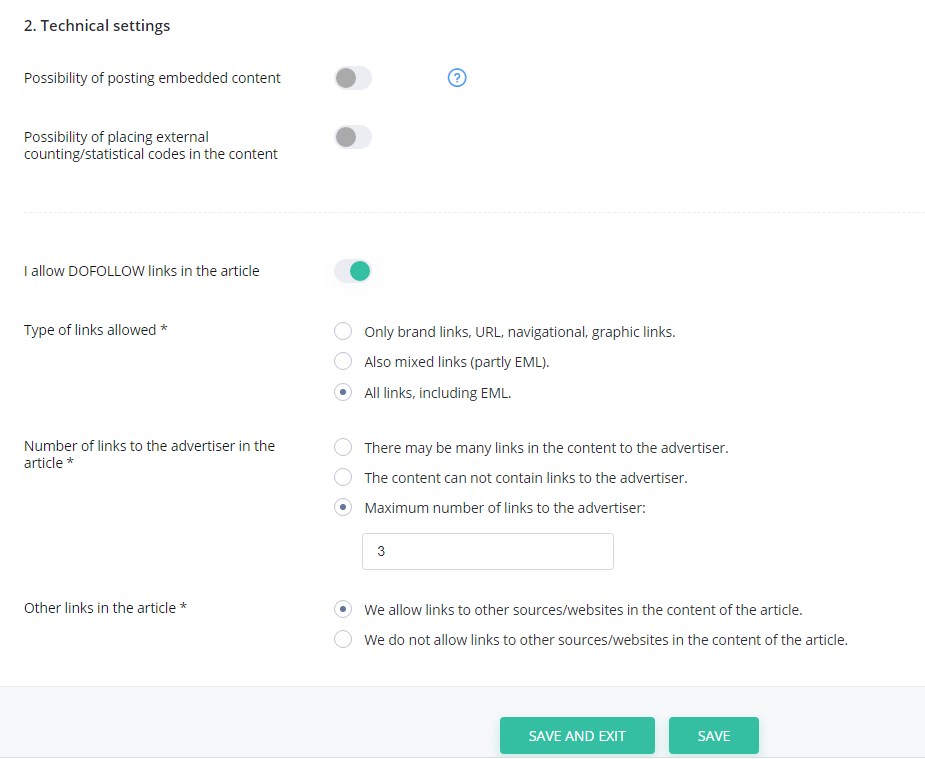
Indicate which one is right for you:
- whether it is possible to place embedded content, for example movies,
- whether it is possible to place external counting codes sent by the client.
- do you allow dofollow links in the article?
If you indicate that you do allow dofollow links, please specify:
- the number of links to the Advertiser in the article:
- whether you allow other links in the article:
- what type of links the Advertiser can insert (choose from 3 options).
Then click on next.
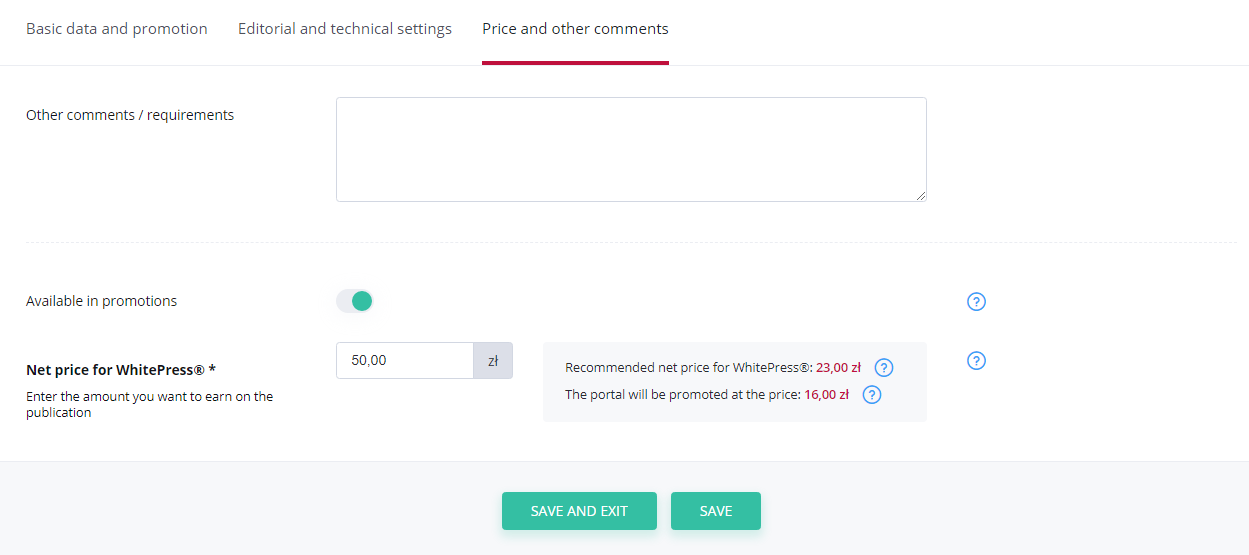
Price and other comments
Finally! The last tab is an optional field where you can add some comments or requirements. In the end, enter the net price for WhitePress®. Keep in mind that the amount of the price will affect the number of orders you receive in the platform.
Remember that you can always edit the offer or change the price, too. Also, having several different offers makes your portal attractive! We recommend you to prepare both SEO offers with dofollow links and PR offers with nofollow links but with a promotion in social media.
4. Submit your website to get accepted
Be sure to click on the SUBMIT PORTAL FOR VERIFICATION button so that we can activate it. Congratulations! Your portal has just been sent for verification by the Editorial office.
The acceptance can take up to two business days, so please be patient. Someone from WhitePress® will contact you soon regarding your portal.
Meanwhile, take a look at our other guides and specialist articles in WhitePress® Knowledge Base to get useful information and content marketing tips.


